To Improve user Experience and Security we Introduce Signup and login Feature in our Software.
Step 1: Sighup
Click on New User Signup Link
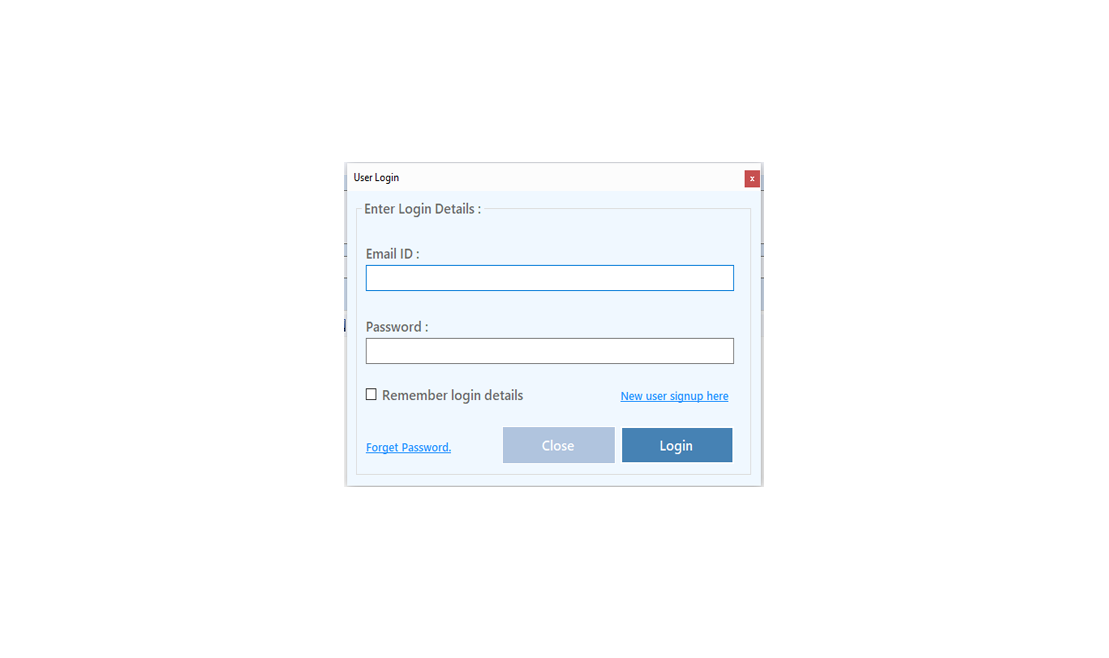
Enter your Email and click on Send OTP Button
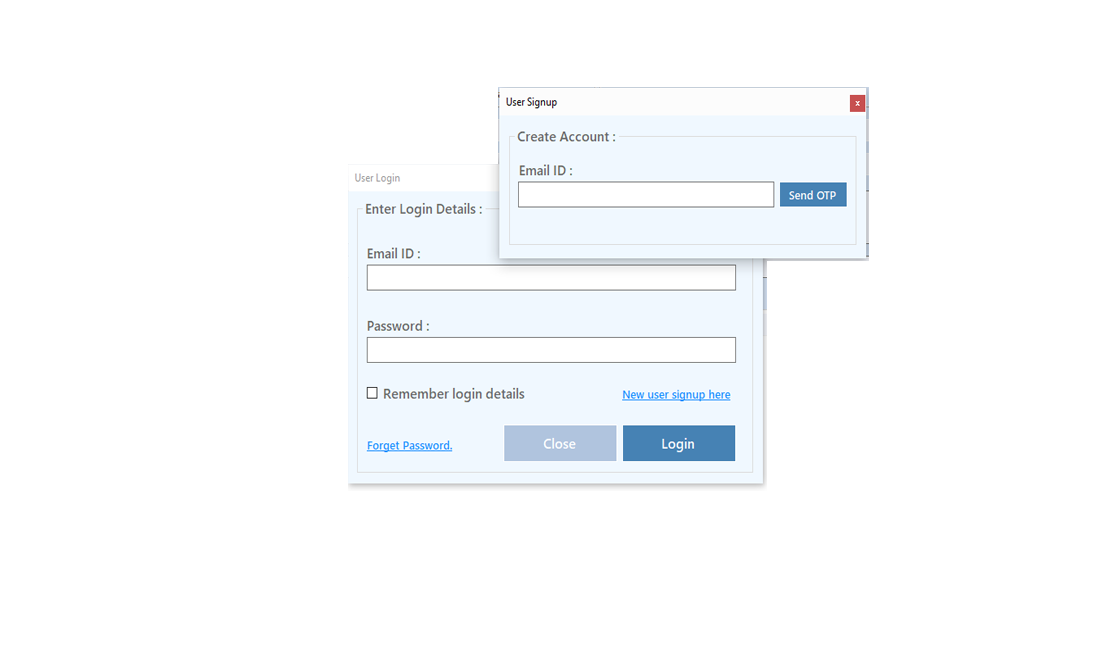
Enter OTP and Fill Details then click onCreate Account Button
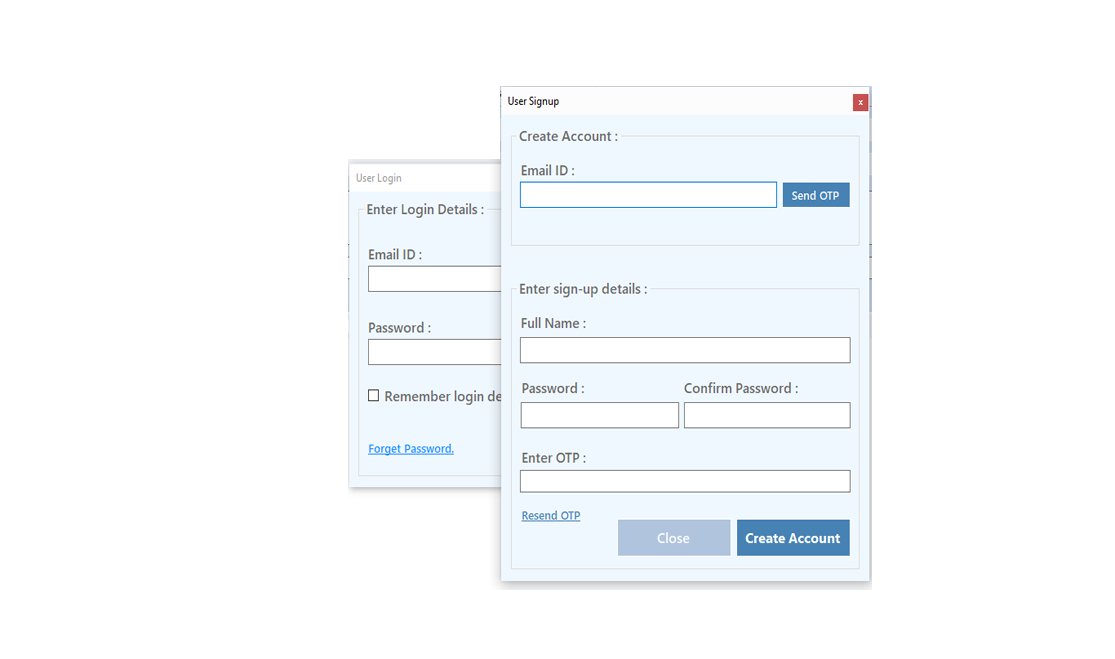
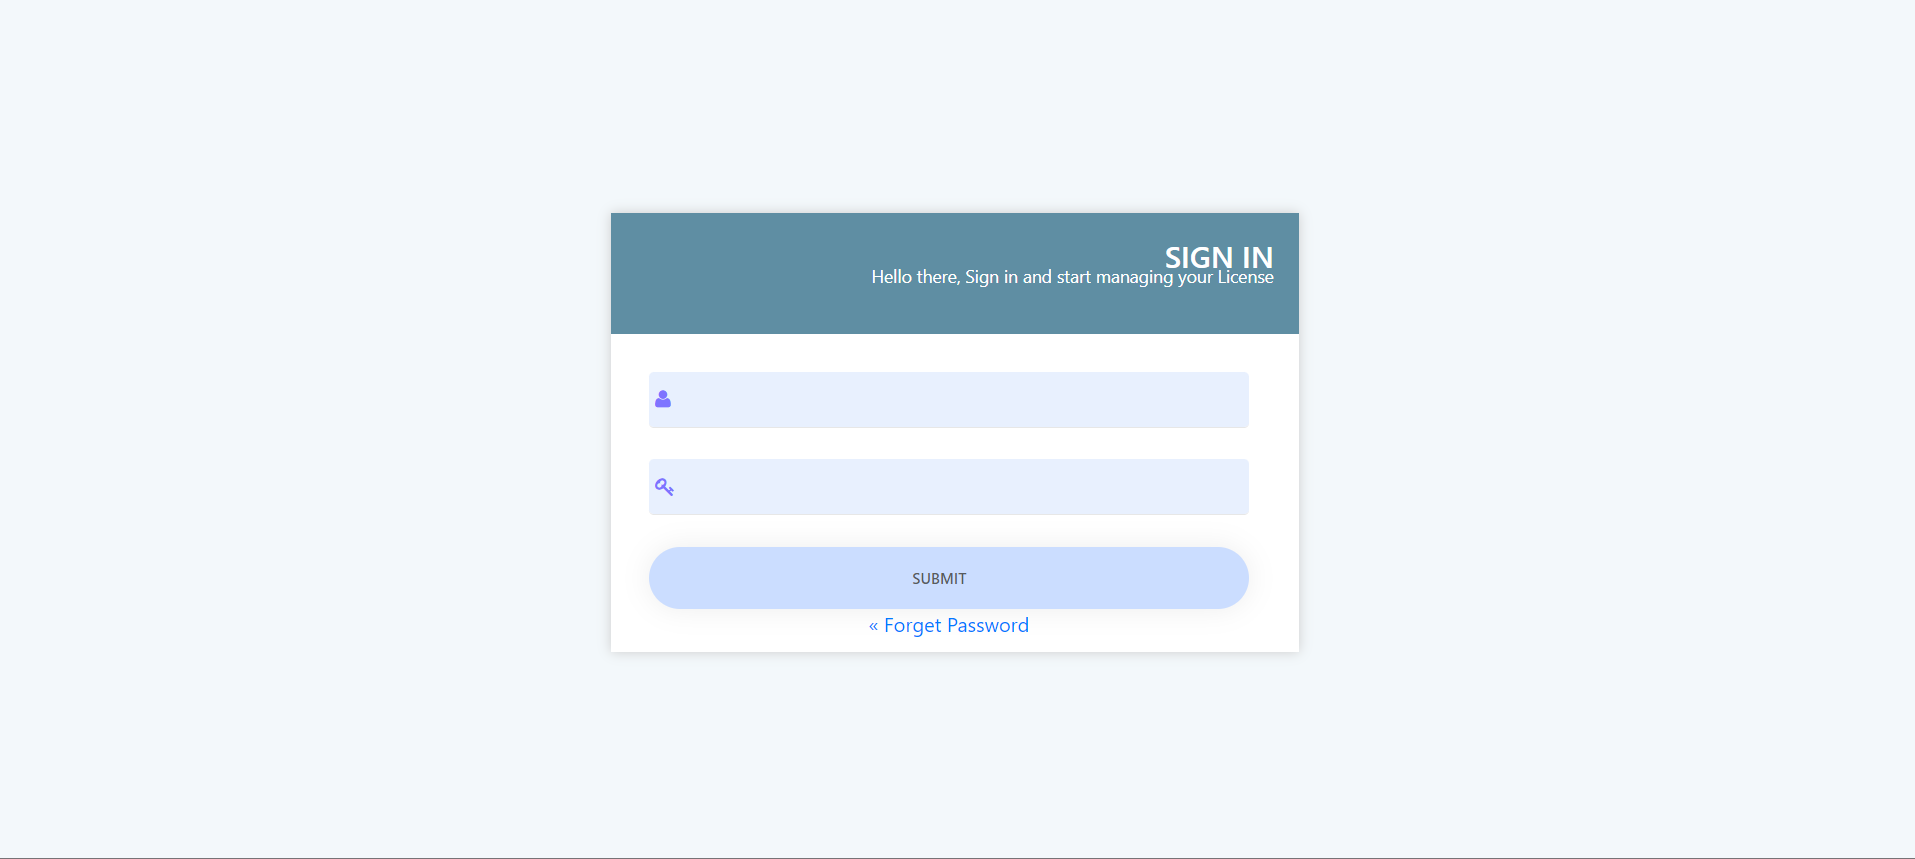
Step 2: Login Your Account

After Login you can Activate your license. The License will Assigned on the Email and always will work with that email.You can't assign license to other email after activation.
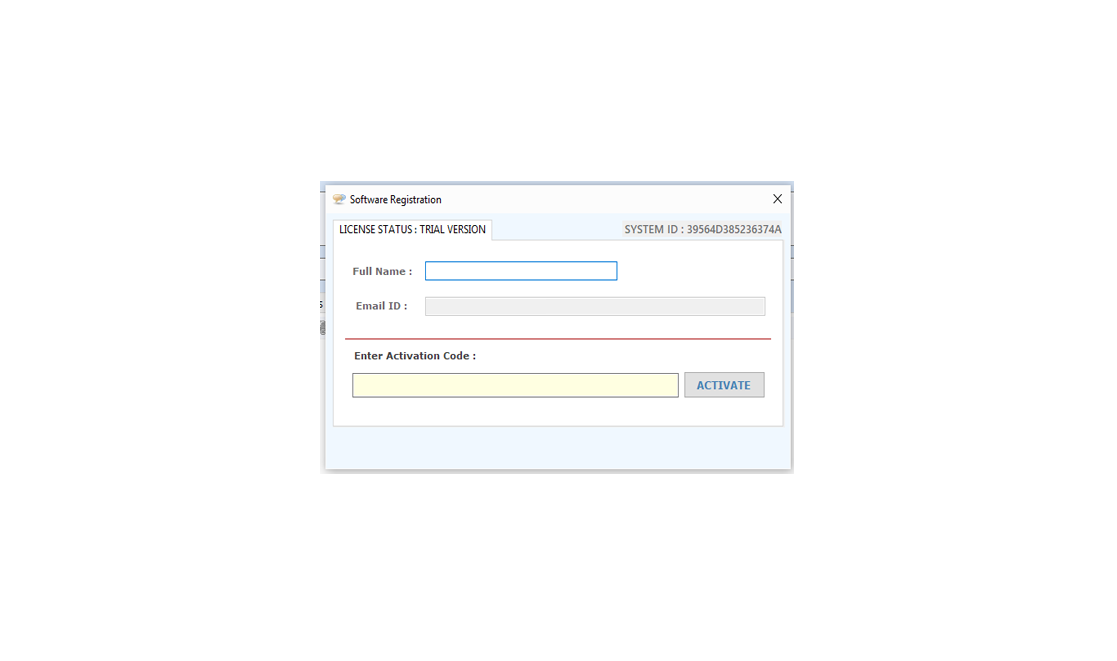
Step 1: Visit Help Menu and Select Activate
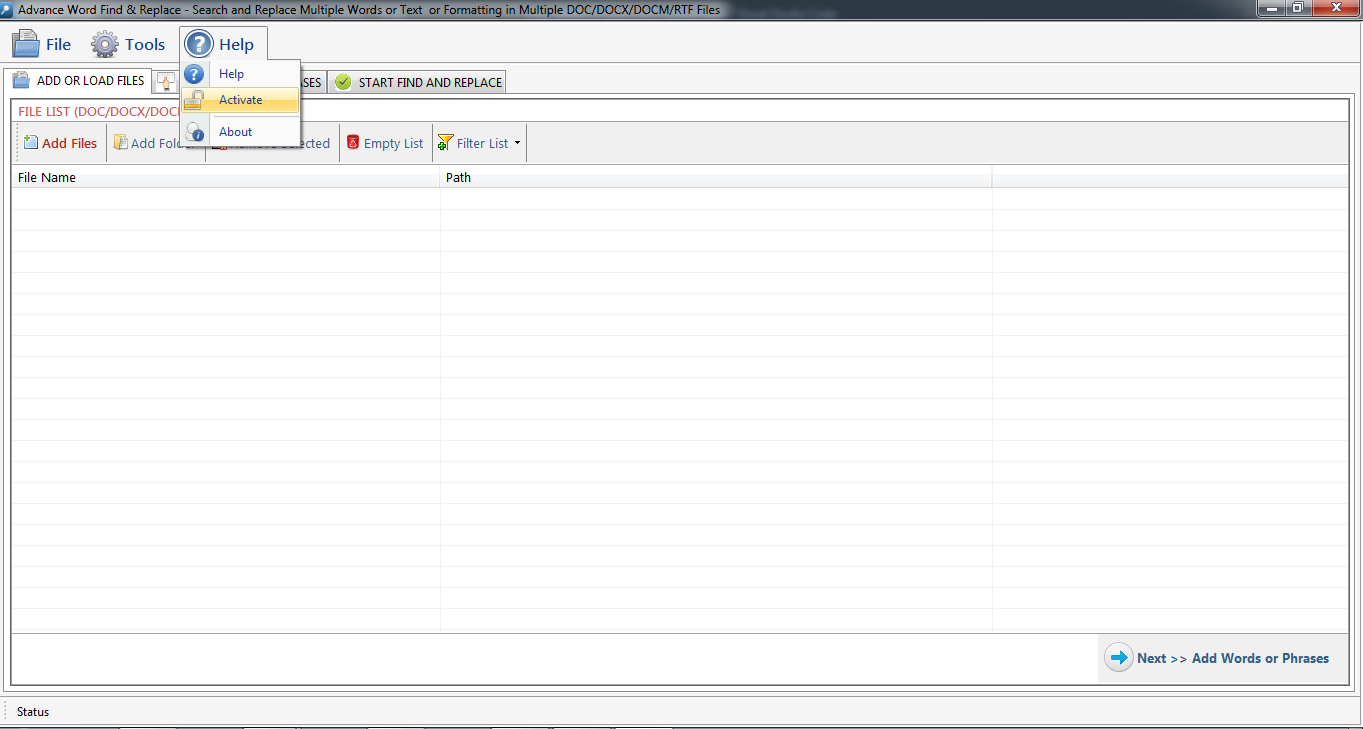
Step 2: Enter the License Key then Click on Activate Button
We made this version more user friendly with its new stepwise process. It has Three steps:
Step 1 : Add Files - In this step you can add MS Word (.doc, .docx, .rtf) files, just click on "Add Files" button to open file dialog box select files you want to add, you can select multiple files. You can also add all files of a selected folder by clicking on "Add Folder" button, it automatically search the selected folder and add all the MS Word Files.
Remove Selected : You can remove the selected files from the file list, to select multiple files in file list use Ctrl or Shift key. You can also remove files by pressing DEL key from Keyboard.
Clear File List : You can remove all files from the file list, it will alert you before removing all files. You can also remove files by pressing DEL key from Keyboard.
Add Words : Press "Next Add Words or Phrases" button to go to next Step.

Step 2 : Add Words - In this step you can add words or phrase for Find What and Replace With List Set by Set or from a Comma/Line Separated Text file. You can type word and press enter or click "Add to List" button to add the same on Word List below. To add Words from TXT file just check the Find What or Replace With radio button and click "Load Words" to Add Words.

Find What: Enter word in this text box to Find. You can also find special characters like Paragraph Marks, Tab
Characters, Manual Line Breaks and all special characters available in MS-WORD which is not listed here.
Replace With: Enter word in this text box to Replace. You can also replace special characters like Paragraph Marks, Tab Characters, Manual Line Breaks etc. as you do in MS-WORD.
Find Options: Before adding word set select your desired find options.
Match Case: Check this option if you want your search to be case sensitive.
Match Whole Word: Check this option if you want your search to be word specific.
Use Wildcard : Check this option if you want your search will use wildcard functionality of MS Word (*). Eg. If you want to find whole sentence starting from a Specific word or characters, just enter - If*. to find whole sentence starting from If. (This is a very USEFUL feature but you need to use carefully).
Main Document: Choose this option to make changes only in the main document.
Header/Footer: Check this option to search replace from Header Footer.
Text Frame: This option to find and replace words from text frame.
In this section you can define your search criteria, e.g. If you want to find only in Bold text just checked the Bold option, It will only search the specified word in only Bold text of word document.

Formatting to Apply on Replaced Word: In this section you can apply formatting for replaced word.

Load Words: Press this button to add words to Word List below from a CSV/TXT File but you have to choose for which column you want to load your words Find What or Replace With column.


Step 3 : Format Words Final Process- In this step you can format or highlight your selected words or phrases for Find What and Replace With List or you can also Edit the Text and change the Find Options.
Click on a Word in the List to open format panel. Format Panel has four bars.

Remove Selected : Remove all selected words from the List.
Clear File List : Remove all words from the List and Empty the Word List.
Clear Formatting : Clear all applied formatting from the list.
Start: Click on Final Step button.To open the "File Folder Options".
Open Target Folder :To open Separate Folder which will be selected to save the processed files.
Show Log File: To open log File.

If you want to save formatted word list for future use. Click to Save Word option to save word list with formatting in ( .awfr) file format.

User can import saved file from “Import Saved Word List” option. To add more words in the present list click on Appended to word list option.


Manage Files: This option help you to manage files if you want to add or delete any file from list.
Manage Words: This option help you to manage Words if you want to add, delete or other changes any Word from list.
Process all Files in a Separate Folder : Check this option if you want to process all files in a single separate folder. Click on Browse button to select the folder. In this option all processed files name include a counter and suffix like "1_WSR_1.doc", "1_WSR_2.docx", "2_WSR_3.doc"
Process in Same Folder : Check this option if you want to process all files in their native folder.
Define Custom Suffix: You can define your own initial to processed files, if you leave blank Suffix Text box then it overwrite the original files if Native Folder option is selected means find and replace process will be done directly in the original files..
Create Log File : Check this option if you want to create a log files for analyzing your file and word process.
Clear Previous Highlight from files: Check this option if you want to remove all previous highlighted text, it only clear Back-Color and ForeColor in file.
Overwrite : Check this option if you are reprocessing the same files. It will overwrite previous files.
Start Process : Press "Start Search & Replace" to start the Find & Replace process.
Stop Process : To Stop the Find and Replace process.


A log file created which has all files and word records, it shows in which file how many words are found replaced and highlighted and you can also open each file by double clicking on file name direct from the log file itself.Click on Header to open File.

Visit: https://neurane.com/user/ Now Login
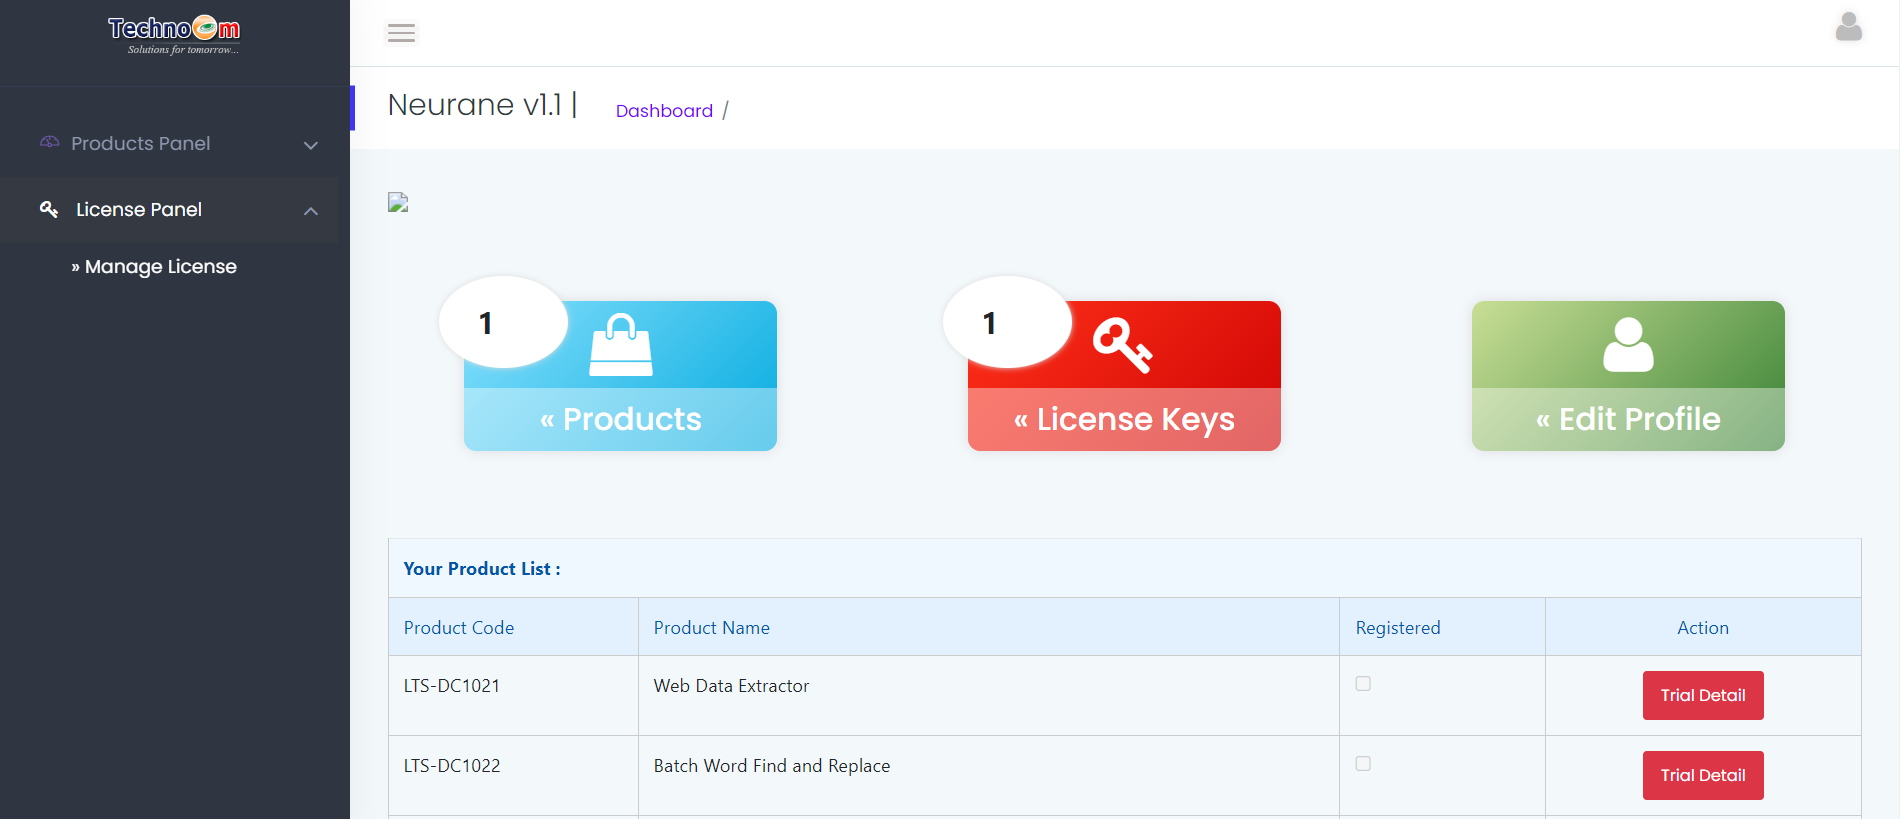
Step 1 : Click on License Panel > Manage License
Step 2 : Find License Key and then Click on Deactivate

Copyright © LantechSoft | info@lantechsoft.com
